HOWTO: Create a User in the Kolab Web Administration Panel
This is a quick walk-through guide on creating a user in the Kolab Web Administration Panel (WAP for short), based on a default Kolab installation.
For customization, please see the Administrator Guide.
Navigate to the
/kolab-webadminURL on your webserver using HTTP. For example, a server set up on localhost would be at http://127.0.0.1/kolab-webadmin.Note
The address you use to connect to the web administration panel is also the address the server software uses itself.
If you navigate to the web administration panel using http://kolab.example.org/kolab-webadmin, then the software itself will (attempt to) connect to http://kolab.example.org/kolab-webadmin/api.
Make sure the server resolves the address you use (back to itself), or use the
api_urlsetting in thekolab_wapsection of kolab.conf(5).Login using the username
cn=Directory Managerand the corresponding password you supplied during the setup process.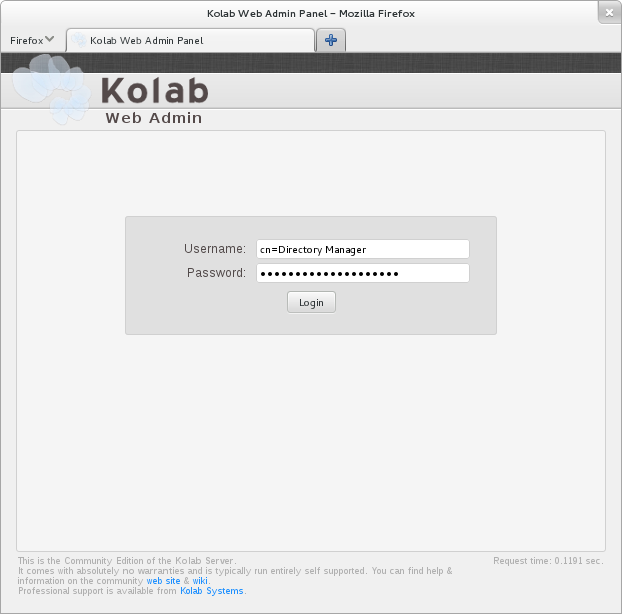
The screen that follows shows you the objects the web administration panel can manage:
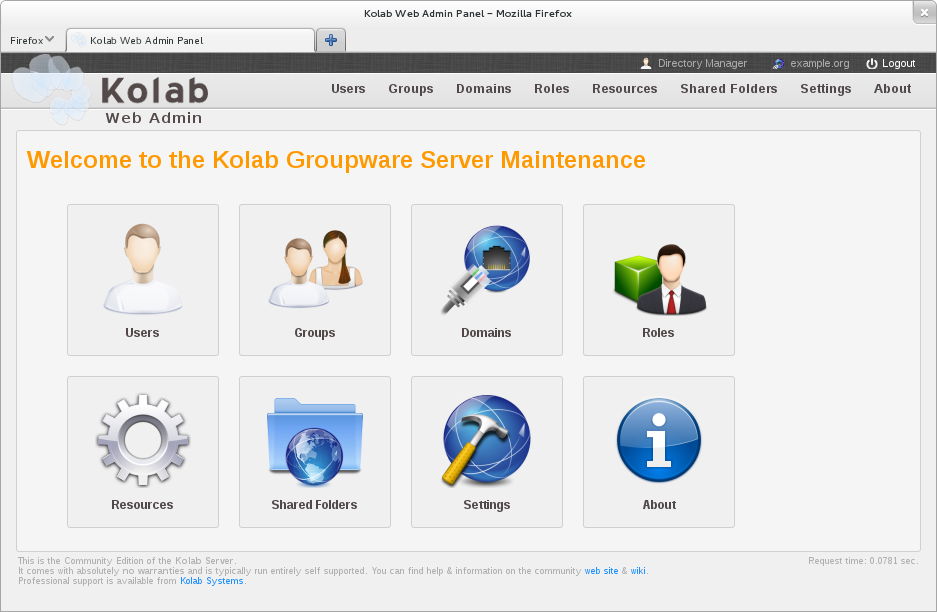
Choose “Users” to create your initial user account.
Please take a moment to familiarize yourself with the layout of our web administration panel:
On the left-hand side is a list of existing user records,
Quick links to other object types are provided at the top,
At the right-hand side, near the top, under
LogoutandAboutis a linkAdd User. No “Add User” Button or Link?The main screen real estate is spent on the form area:
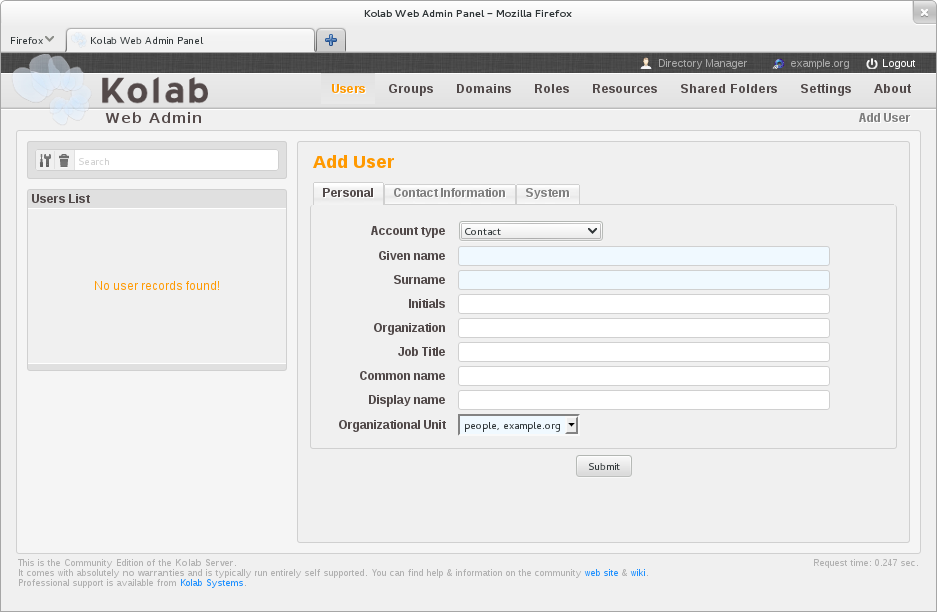
The form is generated from configuration settings, among which a variety of types of individual users. A short overview of the types of users Kolab ships by default is available in the administrator guide.
For now we would like you to select the
Kolab Usertype: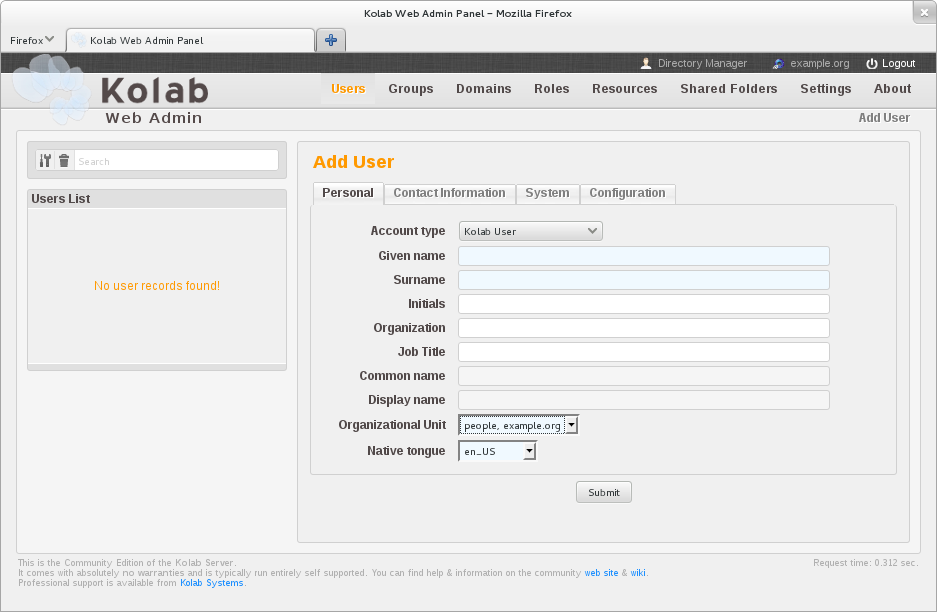
The form updates itself once you select the
Kolab Usertype, reflecting the configured as well as necessary form fields for this type of user, such as mail quota settings. The background color of the form fields indicates whether or not the form field requires you to provide input:light-blue fields are mandatory,
white fields are optional,
gray fields are disabled for custom entry.
Fields that are disabled are usually generated using values (that you supply) in other form fields.
Provide some of the required information, such as the
Given NameandSurname.As you leave each field, the information you typed is being sent back to the server (if the form field beared any relevance to any other form field), to obtain the values of generated form fields.
For example, supply the
Given Name(and/orSurname) of the user, and see theCommon nameandDisplay nameare populated.

User information is being populated in other tabs of the form as well, such as the
Primary Email AddressandSecondary Email Address(es)fields in theContact Informationtab: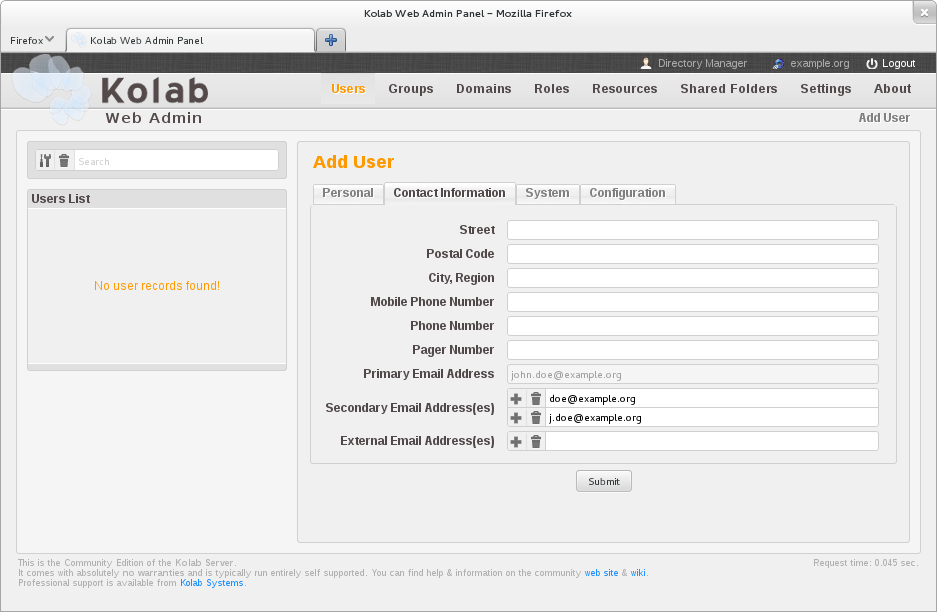
Note
Note that the primary email address form field is disabled for input, as the primary email address is generated by the Recipient Policy.
Select the
Systemtab.If the user you are currently creating is to become a Kolab Administrator, start typing
kolab-adminin theRole(s)field.
Note
The
Unique identity (UID)field is generated using the surname and preferred language of the user. A second user with a surname of “Doe” will have UIDdoe2, a thirddoe3, etc.Note
In the default configuration the password field is a cleartext field, so you can let the user know what password to use, while not having to make one up yourself first – avoiding too many incidences of the 1234 and Welcome123 passwords.
Adjusting this configuration is beyond the scope of this topic, but is described in the Administrator Guide.
Additional Kolab related configuration is available in the Other tab:
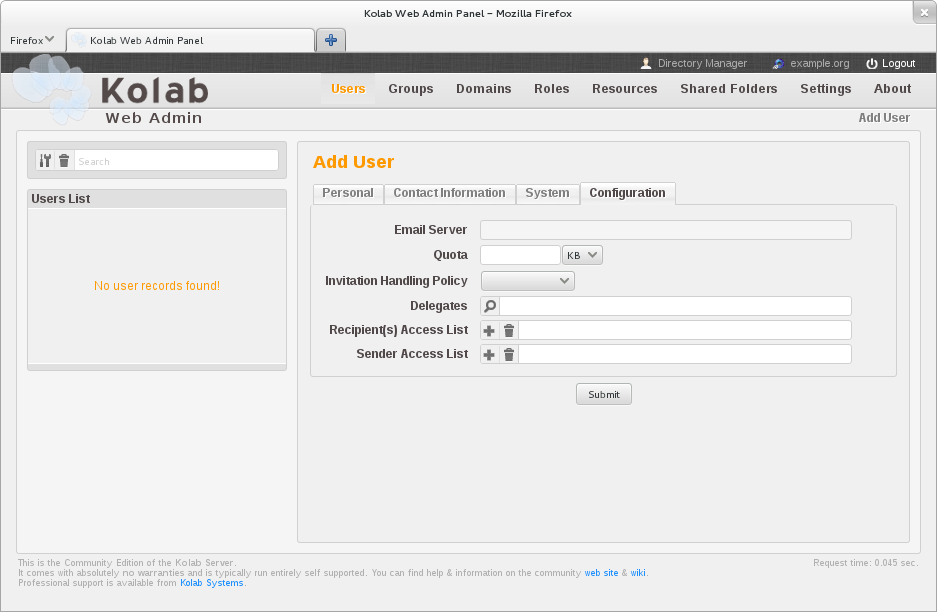
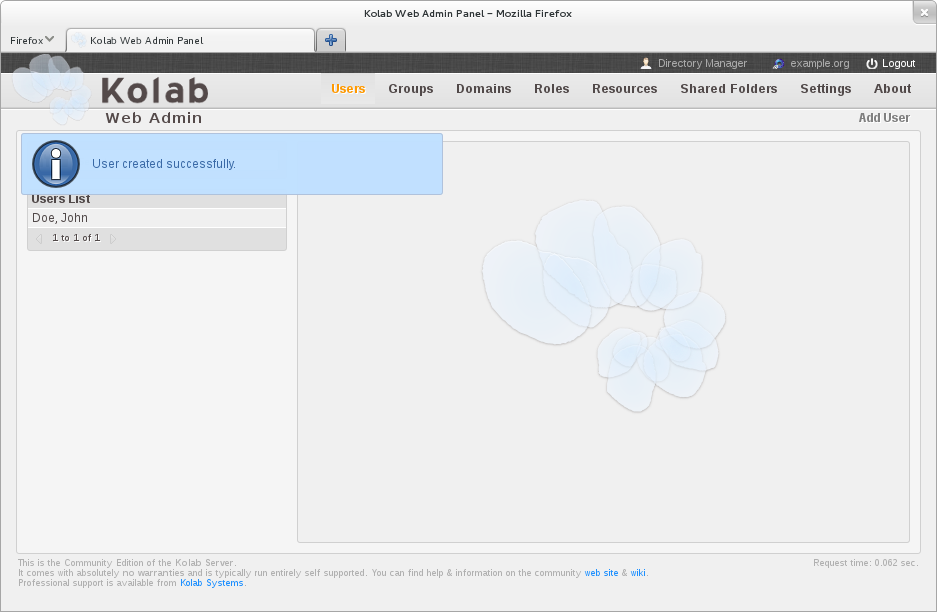
Click the submit button to create the user: