Sharing Calendars
For collaboration, sharing calendars is an important feature. In the overview, we have already learned how calendars others share with you appear in the calendars list. The following now explains how to make personal calendars accessible to fellow users.
Share a Calendar with others
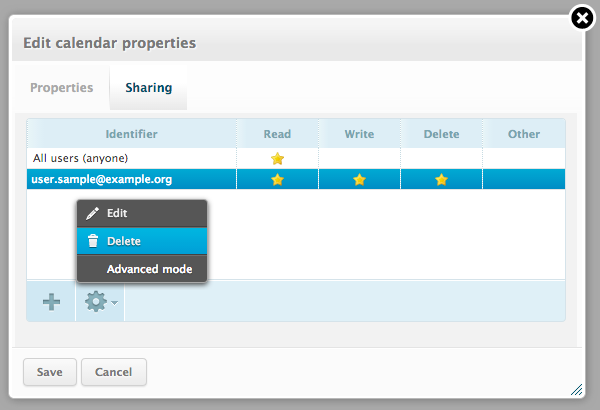
Sharing is controlled through the Calendar Settings Dialog. Double-click a calendar in the list on the left and then select the Sharing tab at the top of the dialog box:
The table displays who already has permission to see and modify the selected calendar. In order to share the calendar with a new user do
Click the Add entry button (+) in the table footer
Enter the username or choose one from the autocompletion menu that appears when you start typing. Instead of a specific user, permissons can be granted for all users or guests.
Select the access rights you want to grant for the user
Click Save to add the permission
Double-click an entry to edit the permissions for a particular user or group.
For removing existing permissions, select the according entry in the list and then choose Delete from the menu behind the gear icon in the footer of the list.